Laptop SSD Upgrade: How to Upgrade Laptop SSD Easy Guide
How to Upgrade Laptop SSD: A Complete Step-by-Step Guide
Is your laptop taking too long to start, or are you constantly running out of storage? A Laptop SSD Upgrade can be a simple and effective way to make your computer faster and give you more space. An SSD can improve boot times, app loading, file transfers, and overall system responsiveness.
Whether you use your laptop for work, studying, gaming, or everyday tasks, upgrading the storage can make a noticeable difference. In this guide, we’ll explain how to upgrade a laptop SSD and what you should check before getting started.
Laptop SSD Upgrade Benefits
Compared with a traditional HDD, an SSD can make a laptop feel much faster. Windows can start more quickly, applications can open faster, and files can be accessed with less waiting.
An SSD upgrade is also useful when your current drive is running out of space. For example, replacing a 256GB SSD with a 1TB model gives you considerably more room for photos, videos, software, documents, and games.
Some common benefits of a laptop SSD upgrade include:
- Faster Windows startup
- Quicker application loading
- Faster file transfers
- Increased storage capacity
- Better overall system responsiveness
- Lower power consumption than many traditional HDDs
Check Laptop SSD Upgrade Compatibility
Before buying a new SSD, make sure it is compatible with your laptop. Different laptops support different storage formats and interfaces.
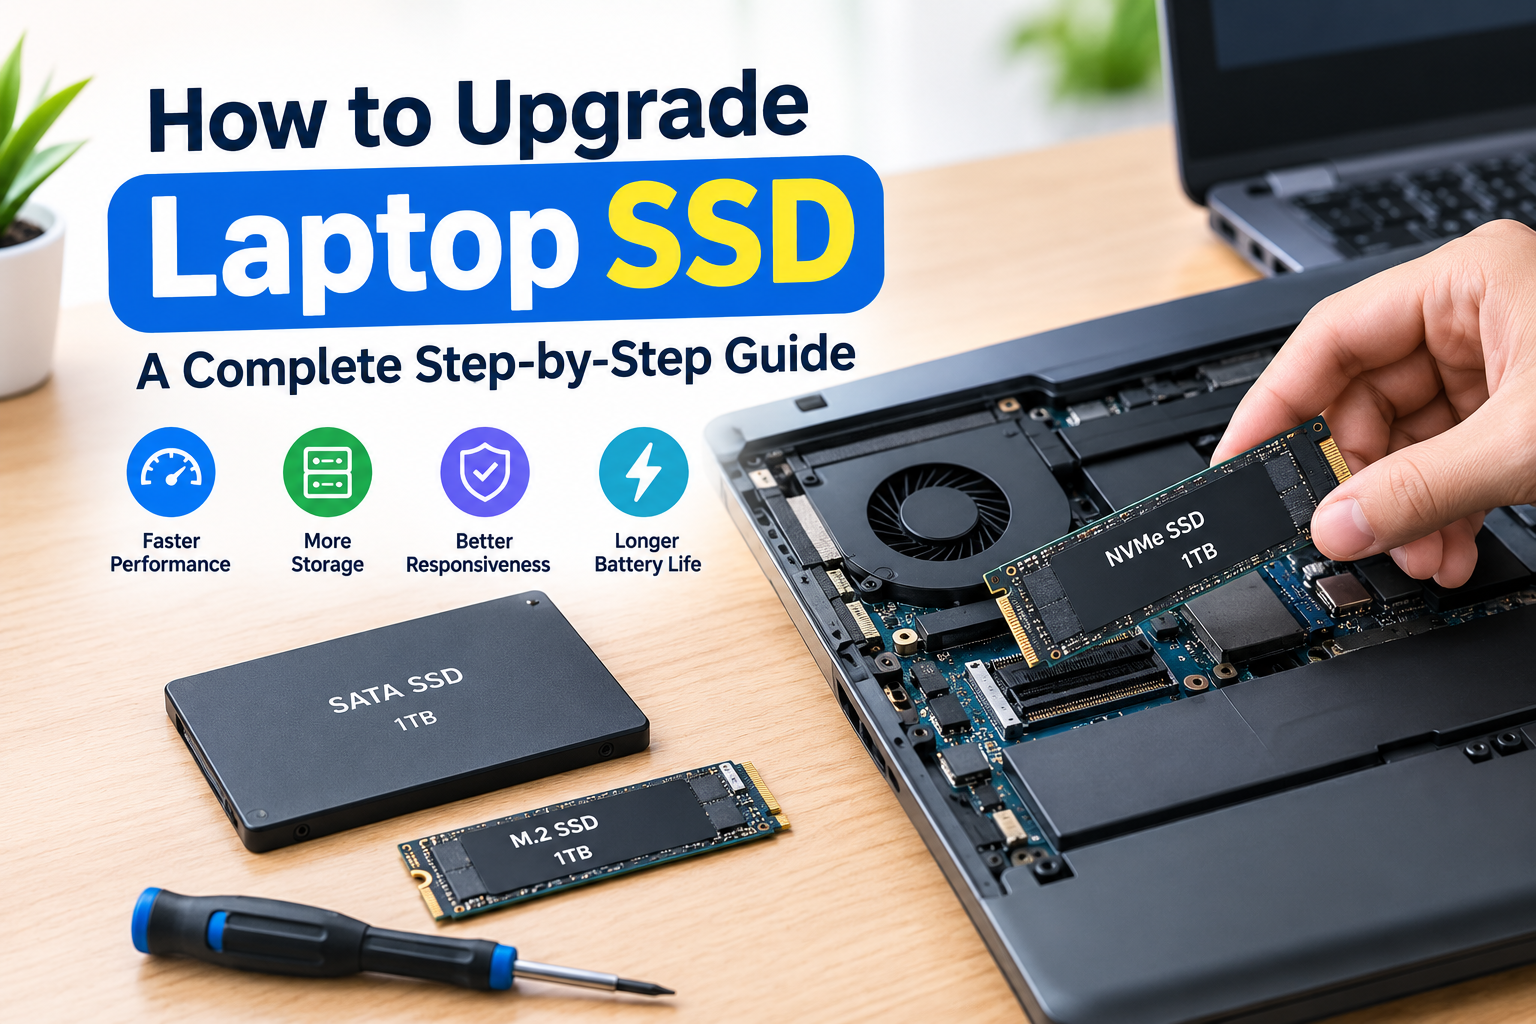
The most common options are 2.5-inch SATA SSDs and M.2 SSDs. Some newer laptops use M.2 NVMe SSDs, which generally provide faster transfer speeds than SATA SSDs.
Check your laptop model’s manual or the manufacturer’s specifications to find out which SSD type, capacity, and interface are supported.
What You Need for an SSD Upgrade
Before opening your laptop, gather everything you need:
- A compatible SSD
- A small Phillips screwdriver
- Your laptop’s user manual
- A backup of important files
- A USB drive for a fresh Windows installation, if needed
- SSD cloning software if you want to transfer your existing system
Most importantly, back up your important data before starting the upgrade.
How to Upgrade Laptop SSD
1. Back Up Your Data
Start by backing up important documents, photos, videos, and other files. You can use an external storage device or cloud storage. This gives you extra protection if something goes wrong during the upgrade.
2. Shut Down the Laptop
Turn off your laptop completely and unplug the charger. If your laptop has a removable battery, remove it according to the manufacturer’s instructions.
3. Open the Back Cover
Carefully remove the screws from the bottom panel using the correct screwdriver. Keep the screws somewhere safe so you can easily put the cover back later.
4. Remove the Existing SSD
Find the existing storage drive and carefully disconnect it. If your laptop uses an M.2 SSD, remove the small retaining screw and gently slide the SSD out of its slot.
5. Install the New SSD
Insert the new SSD into the correct slot and secure it properly. Make sure the connector is aligned correctly and never force the drive into place.
6. Install or Clone Windows
Once the new SSD is installed, you have two main options. You can perform a fresh Windows installation, or you can clone your old SSD to the new one.
Cloning is useful if you want to keep your existing Windows installation, applications, files, and settings.
7. Check the New SSD
Turn on the laptop and check whether Windows recognizes the new SSD. You can view the drive in Windows Settings or use Disk Management to confirm that the storage is detected correctly.
Conclusion
A Laptop SSD Upgrade can be a worthwhile way to improve your laptop’s speed and increase available storage. Before purchasing a new drive, always check compatibility and back up your important files. With the correct SSD and careful installation, you can enjoy faster startup times, quicker application loading, and a smoother overall computing experience.
Share this content: